

What if your bank transfer cleared before you finished typing the amount?
Unified Payment Interface (UPI) is India’s real-time bank-to-bank system that does exactly that — instant transfers using a simple VPA instead of account numbers.
It launched to cut checkout friction, run 24/7, and get money into accounts in seconds.
This intro pulls the curtain on how UPI works, who wins and loses, and the small checks you should run now — pick a UPI app, link your main bank, and send a ₹100 test.
Core Definition and Purpose of UPI
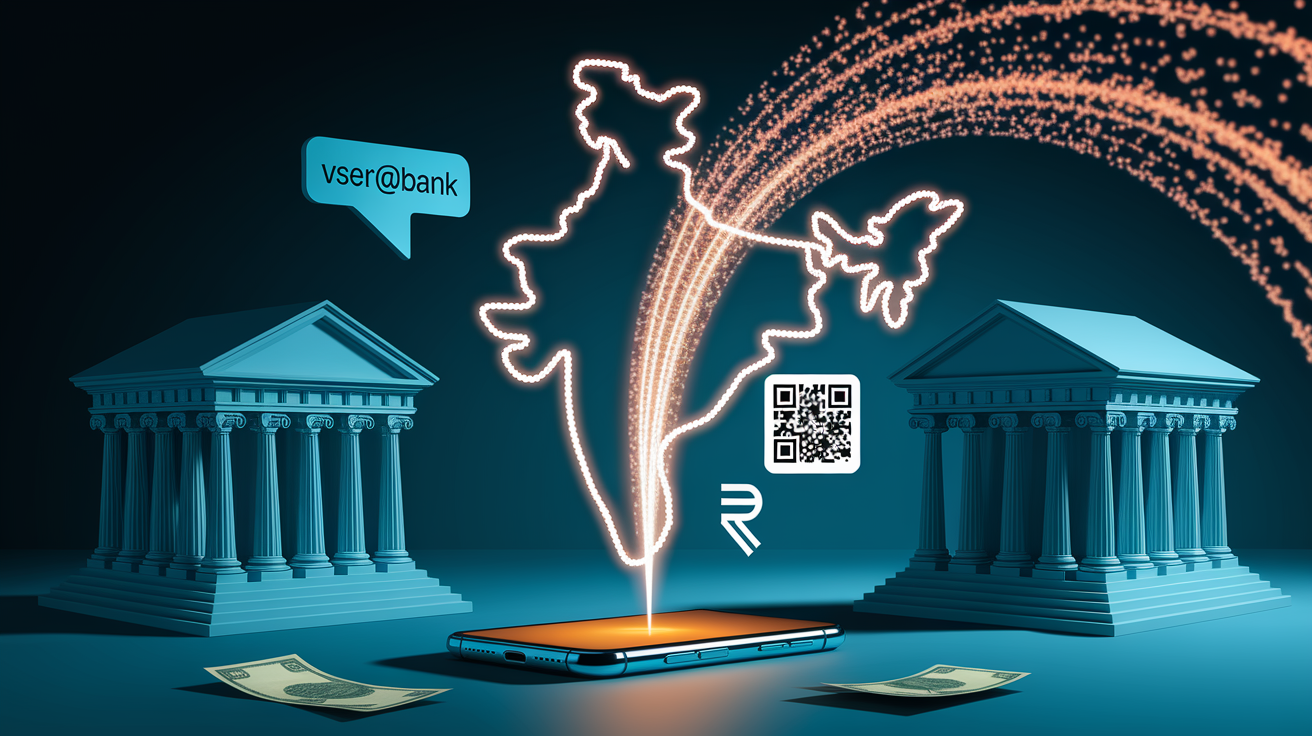
UPI (Unified Payments Interface) is a real-time bank-to-bank payment system built by the National Payments Corporation of India (NPCI) that lets you move money instantly using just a smartphone and a Virtual Payment Address (VPA). It went live in August 2016. Instead of typing out bank account numbers or IFSC codes every single time, you can send and receive money with a simple identifier like name@bank or mobilenumber@provider. Unlike older transfer methods, UPI bundles multiple bank accounts under one interface and runs 24/7, weekends and holidays included.
UPI was built to tackle three big headaches: make peer-to-peer payments simple, cut down friction at merchant checkouts, and push India away from cash toward digital. By cutting out intermediaries and pre-loaded wallets, UPI connects straight to your bank account. No balance top-ups, no waiting around, and money hits the recipient’s account right away. Before UPI, sending ₹500 to a friend meant hunting down their account number, IFSC code, and crossing your fingers that the bank’s NEFT window was open.
UPI’s main jobs include:
- Person-to-person transfers using only a VPA or mobile number, with money zipping instantly between any two bank accounts on the network.
- Person-to-merchant payments by scanning static or dynamic QR codes at checkout, swapping out card swipes and cash.
- Bill payments and recharges for utilities, mobile top-ups, and subscriptions pulled directly from linked bank accounts.
- Mandate and autopay for recurring stuff, letting users pre-authorize scheduled debits so they don’t have to approve manually each time.
- Request money (collect) flows where a payee sends a payment request to a payer’s VPA, though this method is getting phased out for business use because of fraud risks.
How UPI Works Technically

UPI transactions run on the Immediate Payment Service (IMPS) infrastructure for real-time interbank settlement, but the user experience is wrapped into a simple app-to-app or app-to-QR flow. When you kick off a payment, your UPI app talks to the NPCI’s central switch, which routes the instruction to your issuing bank for verification. The issuing bank checks your account balance and UPI PIN. If both clear, it debits the account and signals the NPCI switch, which then credits the payee’s bank. Because IMPS operates around the clock, funds land in the recipient’s account within seconds, and both of you get instant push notifications confirming the transaction.
Behind the scenes, UPI maps each VPA to a specific bank account and mobile number through a secure registry maintained by NPCI. Device binding ties the UPI app to your registered phone’s SIM and IMEI, so even if someone steals your login credentials, they can’t authorize payments from a different device without re-verification. This linkage also enables two-factor authentication: possession of the registered phone (something you have) plus knowledge of the UPI PIN (something you know).
Interbank settlement typically wraps up within a few hours using NEFT, RTGS, or IMPS rails, but you see balance changes immediately because the NPCI switch guarantees the transaction. This split between user-facing confirmation and back-end settlement is what makes UPI feel instant while keeping traditional banking reconciliation processes intact.
Transaction sequence:
- Initiate – You enter recipient VPA, scan QR, or click a payment link. App prefills amount and details.
- Authenticate – You review transaction summary and enter UPI PIN or approve via biometric. App sends encrypted request to NPCI.
- Route and verify – NPCI switch forwards request to issuing bank. Bank validates PIN, checks balance, and confirms device binding.
- Settle and confirm – Issuing bank debits account, NPCI credits acquiring bank, both parties receive instant notification. Interbank settlement finalizes in background.
Key Features and Functionalities of UPI

UPI offers a broad toolkit that goes way beyond simple money transfers, turning it into a platform rather than a single-purpose payment tool.
-
Instant settlement – Transactions complete in real time with funds showing up in the recipient’s account immediately, boosting cash flow for businesses and ditching the multi-day holds you get with card payments and older bank transfer methods.
-
Interoperability – Over 550 Indian banks are hooked into the UPI network, and any UPI app can send money to any VPA no matter which bank or app the recipient uses. Solves the walled-garden problem you saw in earlier wallet systems.
-
Virtual Payment Address (VPA) – You create human-readable identifiers (like
shopowner@paytmor9876543210@ybl) that hide underlying account details, so customers never see or type bank account numbers during checkout. -
QR code payments – Merchants display static QR codes linked to their VPA for repeat use, or generate dynamic QR codes per transaction that bake in the exact payment amount, cutting down manual entry errors and speeding up in-store and delivery payments.
-
Mandates and autopay – You can pre-authorize recurring debits for subscriptions, loan EMIs, or utility bills. UPI 2.0 rolled out one-time mandates for single pre-authorized payments and better controls for pausing or canceling recurring instructions.
-
Bill payments and recharges – Apps pull in utility billers, telecom operators, and service providers, letting you pay electricity, water, gas, and mobile bills straight from your bank account without bouncing around biller websites or recharge kiosks.
-
Multi-account linking – A single UPI handle can be tied to multiple bank accounts, and you pick which account to debit when you pay. Gives you flexibility for separating personal and business accounts or tapping credit lines.
-
Payment links and in-app intents – Businesses send payment links via SMS, email, or chat that open your UPI app with prefilled details. E-commerce checkouts trigger app-to-app intents, where the merchant app passes transaction data directly to your preferred UPI app for authorization, skipping manual VPA entry.
Security and Authentication Mechanisms in UPI
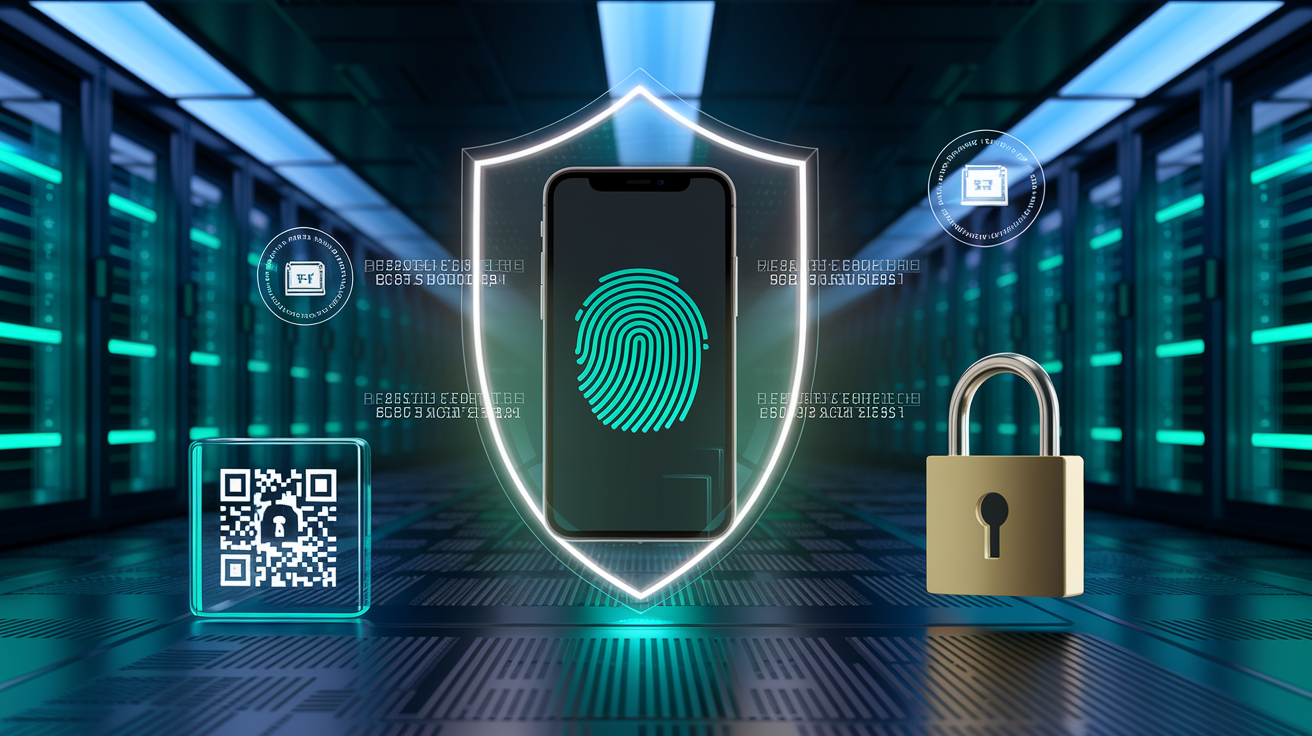
UPI’s security setup mixes device-level controls, cryptographic protocols, and regulatory oversight to protect users and cut down fraud exposure. Every transaction needs two-factor authentication: the registered mobile device (something you have) and a UPI PIN (something you know). Device binding locks the UPI app to your phone’s SIM card and hardware identifiers, so installing the app on a new device kicks off a re-verification flow that needs OTP confirmation from the linked mobile number and bank.
The UPI PIN itself is a 4 or 6 digit numeric code you set during initial setup, and it’s never transmitted in plaintext. When you enter the PIN, the app hashes it locally and sends the encrypted result to the issuing bank via the NPCI switch over TLS-secured channels. Banks store only the hashed version, making it nearly impossible for attackers to reverse-engineer the original PIN even if they breach a database. Some UPI apps also support biometric authentication (fingerprint or iris scan) as an alternative to PIN entry, adding a third factor tied to your physical identity.
NPCI requires end-to-end encryption using AES and PKI (public-key infrastructure) for all message flows between apps, the NPCI switch, and member banks. Transaction data is signed with digital certificates to block tampering, and signed QR codes introduced in UPI 2.0 include cryptographic checksums that verify the merchant’s identity, stopping fake or swapped QR codes at payment time. The Reserve Bank of India (RBI) enforces additional rules around dispute resolution, customer liability caps, and mandatory security audits for payment service providers, so even if fraud happens, users have recourse and limited financial exposure.
Core security components:
- Device binding and SIM association – App activation needs OTP sent to registered mobile. Changing devices triggers fresh verification.
- Two-factor authentication (2FA) – Possession of the phone plus knowledge of UPI PIN or biometric approval.
- Encrypted transmission – TLS for network layer, AES and PKI for message-level encryption between app, NPCI, and banks.
- PIN hashing – UPI PINs are hashed on-device and verified by the issuing bank. Plaintext PINs never leave your phone.
- Signed QR codes and merchant certification – Dynamic and certified static QR codes include cryptographic signatures to prevent fraudulent merchant substitution.
Setting Up and Using UPI
Getting started with UPI needs a smartphone, an active bank account with a mobile number linked at the bank level, and a stable internet connection. The entire registration process takes a few minutes and doesn’t require visiting a branch or talking to customer service.
Step-by-step setup:
- Download a UPI app – Install Google Pay, PhonePe, Paytm, BHIM, or any other UPI-enabled app from your phone’s app store. Most apps are free and support both Android and iOS.
- Verify your mobile number – Enter the mobile number registered with your bank account. The app sends an OTP via SMS to confirm you own the number.
- Link your bank account – Select your bank from the in-app list (over 550 banks are available). The app fetches linked accounts automatically by querying NPCI’s registry using your verified mobile number.
- Create a Virtual Payment Address (VPA) – Choose a custom handle (like
yourname@bank) or accept the app’s default. This VPA becomes your payment identifier. - Set your UPI PIN – Enter the last six digits of your debit card and the card’s expiry date to authenticate with your bank, then create a 4 or 6 digit UPI PIN. Some banks send an OTP to authorize PIN creation.
- Start transacting – Send money by entering a recipient’s VPA or scanning their QR code, review the prefilled details, enter your UPI PIN, and confirm. Receive money by sharing your VPA or displaying your QR code in the app.
Once configured, daily use is straightforward. Open the app, choose “Send” or “Pay,” input the recipient or scan a code, confirm the amount, and authenticate with your PIN. For merchants, accepting UPI needs only a bank account and a VPA. Small businesses print a static QR code and display it at the counter, while larger operations bake dynamic QR generation or app-to-app intent flows into their checkout systems.
UPI Compared to Other Payment Systems

UPI sits alongside older Indian payment systems (NEFT, RTGS, and IMPS) and competes with mobile wallets, but it delivers distinct wins in speed, cost, and user experience. NEFT (National Electronic Funds Transfer) processes transfers in hourly batches, meaning a payment started at 10:15 AM might settle by 11:00 AM or later, and the system goes offline outside banking hours. RTGS (Real Time Gross Settlement) handles high-value transfers (typically above ₹2 lakh) with near-instant settlement but charges a fee per transaction and operates only during business hours on weekdays.
IMPS provides real-time transfers 24/7 and powers UPI’s settlement layer, but using IMPS directly means entering the recipient’s account number, IFSC code, and sometimes their registered mobile number, making it clunky for repeat payments. UPI hides this complexity. You remember a VPA instead of a 16-digit account number, and the NPCI switch handles routing and bank lookups in the background.
Mobile wallets like Paytm Wallet, MobiKwik, and Amazon Pay require you to pre-load a balance by transferring money from your bank account, creating an extra step and locking funds inside a closed ecosystem. UPI ditches the wallet middleman by pulling directly from your bank account, so there’s no need to maintain a separate balance, and interoperability is guaranteed across banks and apps. Wallet-to-wallet transfers only work within the same service, whereas UPI works across the entire network.
| System | Key Difference |
|---|---|
| NEFT | Batch-processed in hourly windows. Not real-time. Unavailable outside banking hours. Free but slower for urgent transfers. |
| IMPS | Real-time and 24/7 like UPI, but requires account number plus IFSC entry. No VPA or QR support. Typically used for one-off transfers. |
| Mobile Wallets | Require pre-loaded balance. Closed ecosystems with limited interoperability. Funds locked until withdrawn back to bank. Often charge merchant fees. |
| UPI | Real-time, 24/7, uses VPA/QR for easy identification. No pre-load needed. Free for users. Works across 550+ banks and all UPI apps. |
Popular UPI Apps and Their Unique Features
PhonePe is one of India’s biggest UPI apps by transaction volume, known for its stripped-down home screen that puts “Send Money” and “Scan QR” front and center. PhonePe packs in bill payments, mobile recharges, insurance, mutual fund investments, and gold purchases within the app, making it a super-app for financial services beyond payments. It runs cashback and reward campaigns tied to UPI transactions, and its “Switch” platform lets you discover and transact with third-party merchants without leaving the PhonePe interface.
Google Pay (formerly Tez) leans into peer-to-peer payments with features like “chat threads” that show transaction history between two users in a messaging-style layout. Google Pay’s standout is its tie-in with Google services. You can pay for YouTube Premium, Google One storage, and Play Store purchases directly via UPI. The app also supports bill reminders, recurring payment tracking, and a “Spot” rewards program that gamifies transactions with scratch cards and cashback.
Paytm started as a mobile wallet and later added full UPI support, so it offers a hybrid model where you can pay via UPI or your Paytm Wallet balance. Paytm’s merchant network is massive, with QR codes visible in millions of small shops across India, and the app includes ticketing for movies and events, travel bookings, and a Paytm Postpaid credit line. Its “Paytm for Business” app gives merchants dynamic QR generation, settlement reports, and instant notifications for incoming payments.
BHIM (Bharat Interface for Money) is the government-backed reference UPI app developed by NPCI. BHIM is lightweight, open-source, and built for accessibility, supporting multiple Indian languages and requiring minimal permissions. While it lacks the rewards and third-party integrations of commercial apps, BHIM focuses on core UPI functions (send, receive, scan QR, and check balance), making it the go-to choice for users who want a no-frills, privacy-conscious payment tool.
Practical Considerations and User Tips for UPI
Always verify the recipient’s VPA or QR code before confirming payment. Once a UPI transaction is authorized, it’s processed instantly and reversing it requires the recipient’s cooperation or a formal dispute with your bank.
Never share your UPI PIN with anyone, including customer support or bank representatives. Legitimate services won’t ever ask for your PIN. Sharing it gives attackers full control over your linked bank account.
Review app permissions and grant only what’s necessary. Some UPI apps request access to contacts, SMS, and location for convenience features, but core UPI functions work without these permissions if you prefer tighter privacy controls.
Use secure networks when making high-value transactions. Public Wi-Fi can be vulnerable to man-in-the-middle attacks. Stick with mobile data or a trusted private network, especially when entering your UPI PIN.
Enable transaction alerts and monitor your bank account regularly. Instant SMS or push notifications help you catch unauthorized transactions quickly, and most banks let you set daily UPI limits or temporarily disable UPI if you suspect your phone is compromised.
Update your UPI app and phone operating system promptly. Security patches fix known vulnerabilities, and outdated apps may lack protections against newly discovered exploits or phishing techniques.
Final Words
We ran through UPI’s purpose, the transaction flow, its main features, security checks, setup steps, and how top apps differ.
It matters because UPI delivers instant, bank-to-bank moves with low friction—good for merchants and consumers alike. Security and proper setup are the real game-changers.
Quick next steps: verify your VPA, set a strong UPI PIN, test a small transfer, and lock app permissions. Treat UPI as a unified payment interface you can trust when it’s configured right—faster receipts, fewer headaches.
FAQ
Q: What is an unified payment interface system?
A: A unified payment interface (UPI) system is a real-time mobile payments platform that links multiple bank accounts via a Virtual Payment Address (VPA), enabling instant bank-to-bank P2P and merchant payments.
Q: Is Zelle the same as UPI?
A: Zelle is not the same as UPI. Zelle is a US bank-led instant transfer service tied to bank accounts and phone/email IDs; it lacks UPI’s universal VPA model and broader app-based interoperability.
Q: Is UPI only in India?
A: UPI is primarily used in India; it’s built and operated by NPCI. Some cross-border links and pilots exist, but the core UPI rails and most usage remain within India.
Q: Is UPI available in the USA?
A: UPI is not broadly available in the USA. A few cross-border remittance partnerships and pilot services link UPI to US payment rails, but ordinary US consumers can’t directly use native UPI apps nationwide.